


Delving into the colorful realm of children’s fashion opens up endless possibilities for creativity and personal expression. Engaging children in DIY accessory projects is an exciting way to foster their imaginative skills and teach them valuable crafting techniques. This article is your guide to a variety of fun, easy, and creative DIY accessory projects that parents and children can enjoy as a team. Let’s explore these wonderful ways to add a personal touch to your child’s wardrobe, one accessory at a time!
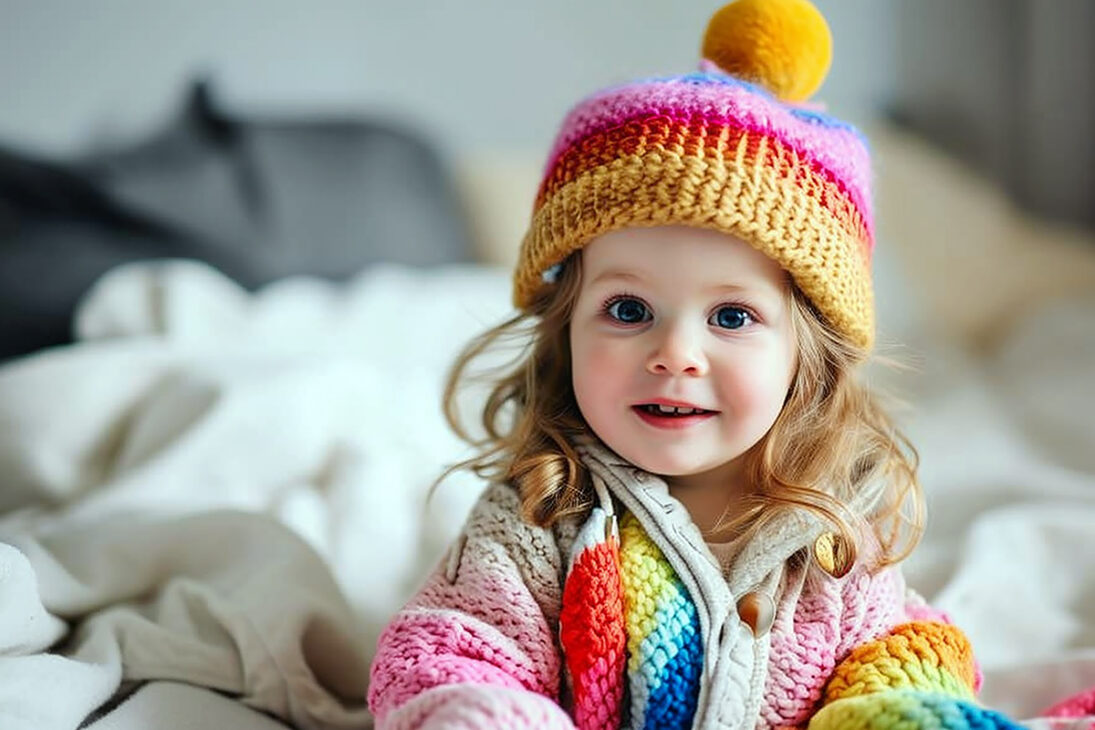
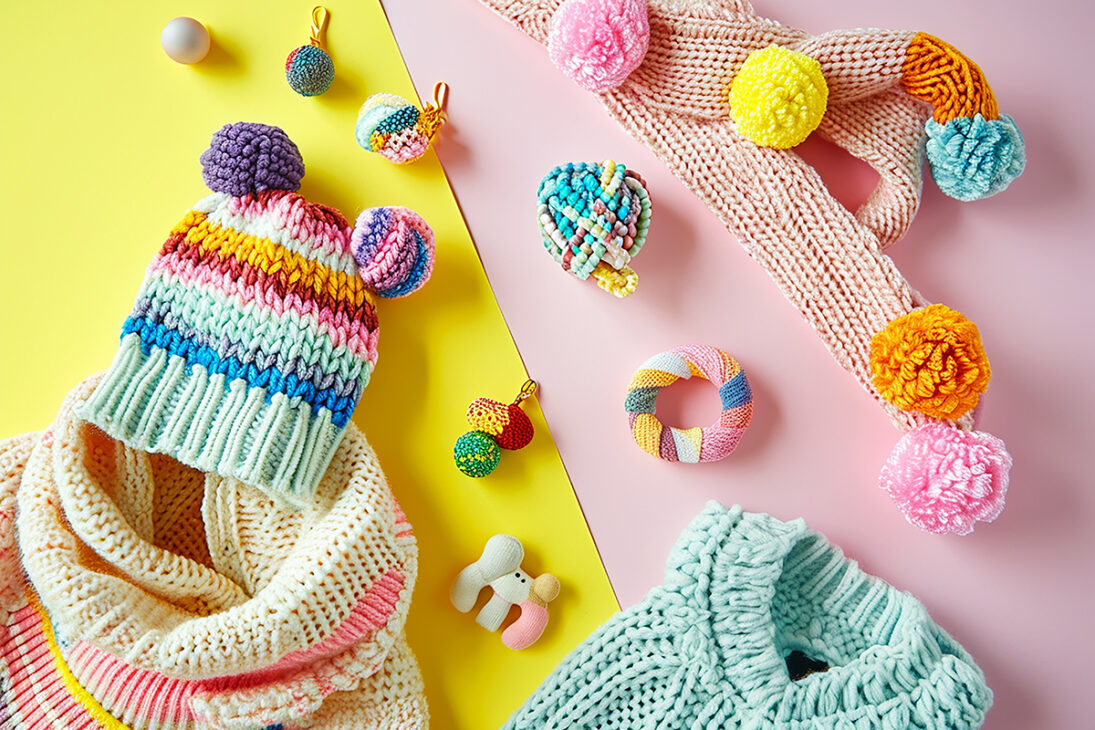
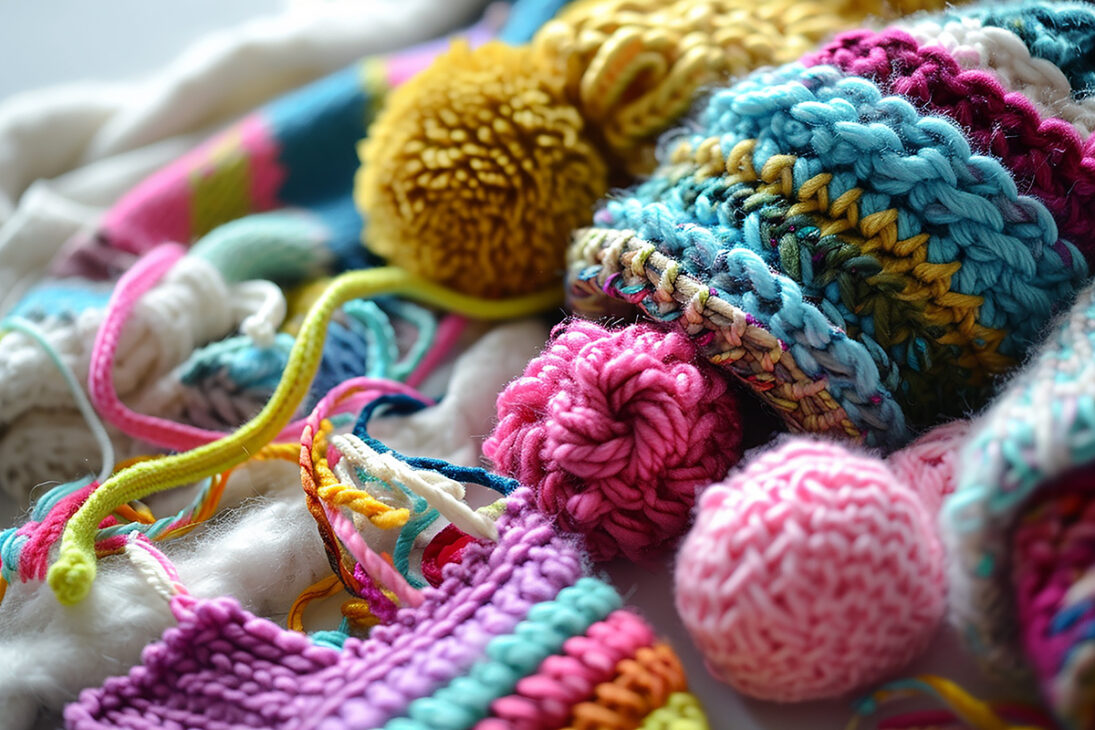
Customizing Hats – A Canvas for Creativity
Hats hold a special place in the world of children’s accessories. They’re not just practical for shielding little ones from the sun or keeping them warm; they’re also perfect for showcasing style and personality. Customizing hats can be a fantastic bonding activity for you and your child, providing endless fun and a great outlet for creativity.
Starting Simple – Choosing the Right Hat
The journey begins with selecting the right hat. Look for hats made of fabric like cotton or canvas – they’re ideal for customization. Choose a color that complements your child’s wardrobe or go for a neutral shade that serves as a blank canvas.
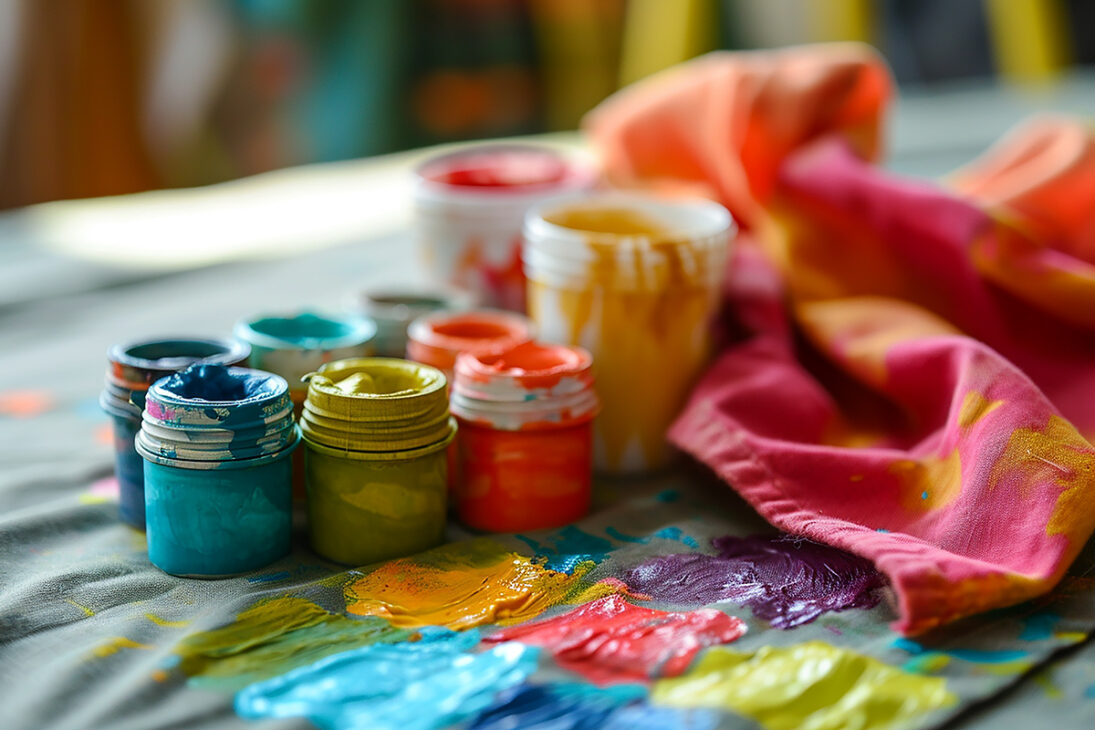
Making a Mark with Fabric Paints
Fabric paints are a great way to start. They come in a variety of colors and are easy to use. Whether it’s handprints, geometric shapes, or a beautiful scenery, painting on hats can be as simple or intricate as you like. Remember to use a cardboard insert inside the hat to prevent paint from seeping through.
Patching it Up – Adding Character
Patches are a trendy way to add flair to any hat. Choose from a wide range of patches available online or in craft stores – from cartoon characters to floral designs. Iron-on patches are user-friendly; just position the patch and press it on with an iron. Sewing patches on is another great option for older children who are learning to sew.
The Beauty of Embroidery
Embroidery may seem daunting, but it’s a wonderful skill to teach older children. Start with simple designs like initials, stars, or small flowers. Embroidery adds a lovely handcrafted touch to any hat. Use a basic embroidery hoop and choose vibrant thread colors for a standout look.
Personalized Stencils – Unique Designs
Create personalized stencils out of cardboard for an exclusive design. Whether it’s a favorite animal or an abstract shape, use the stencil with fabric spray paint for a quick and neat design.
Top Tips for Hat Customization:
- Pre-Wash Hats – Always wash new hats before painting or embroidering to remove any sizing, which can affect how the material takes the paint or thread.
- Test Your Design – Practice your design on a piece of fabric before applying it to the hat.
- Seal the Deal – After painting, iron the inside of the hat (if safe) to set the paint, or use a fabric paint sealer.
- Keep it Age-Appropriate – Ensure that the materials and the complexity of the project are appropriate for your child’s age.
- Let Creativity Flow – Encourage your child to brainstorm and sketch out ideas – there’s no right or wrong in creativity!
Customizing hats can be more than just a fun project; it can be a way to foster your child’s sense of individuality and artistic expression. So, gather your materials and let the hat become your canvas for creativity!
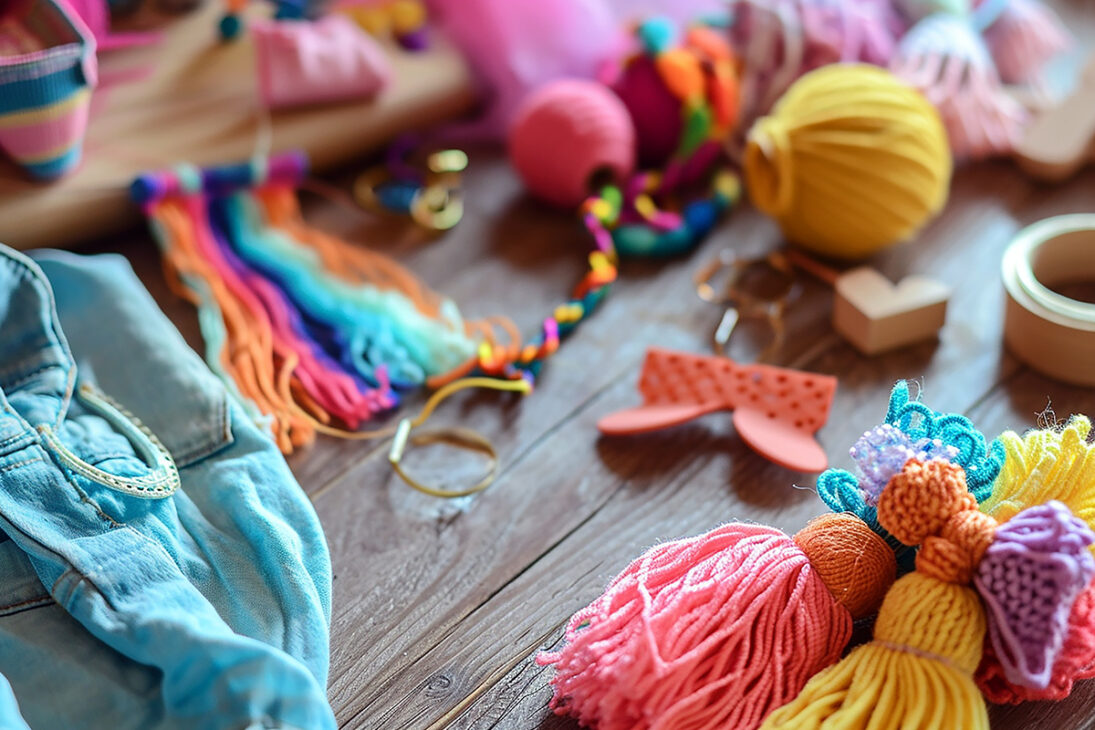
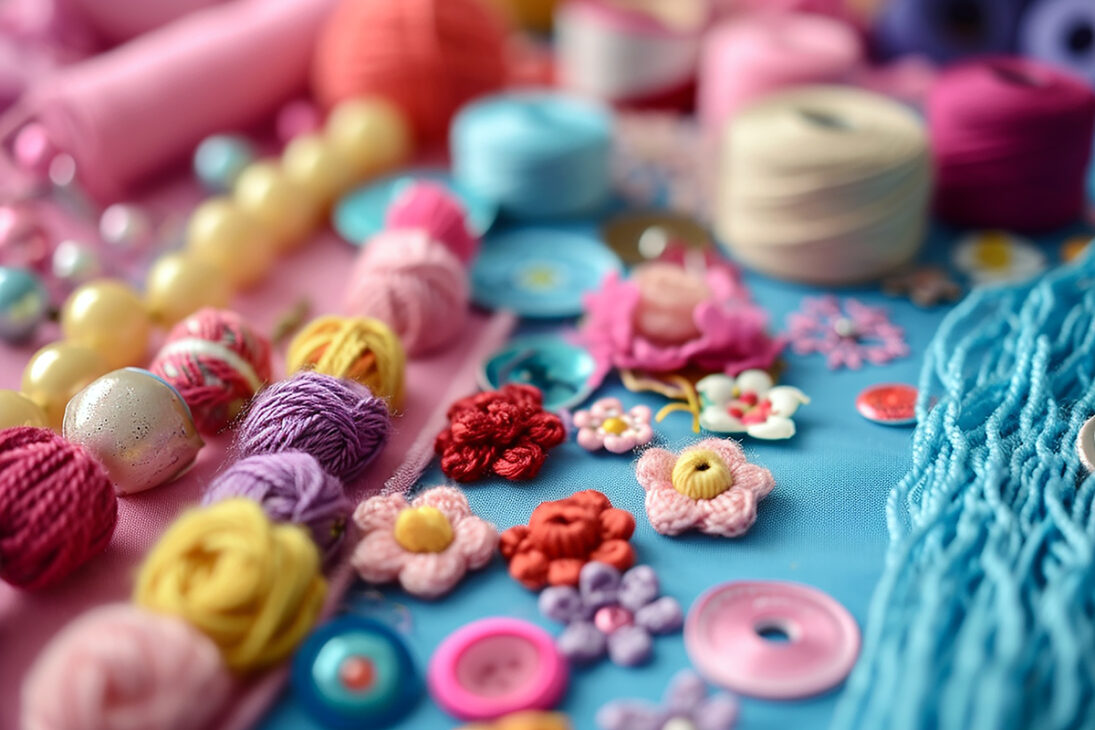
Handmade Jewelry – Sparkling with Imagination
Handmade jewelry projects are a wonderful way to spark creativity in children while teaching them valuable skills. From threading beads to creating patterns, the world of DIY jewelry is full of possibilities. Whether it’s a charming necklace, a whimsical bracelet, or a playful anklet, each piece is a testament to your child’s imagination and dexterity.
Gathering Your Jewelry Making Supplies
Start by assembling a variety of materials. This can include:
- Colorful beads – Opt for large, brightly colored beads for younger children and smaller, more intricate beads for older kids.
- Elastic string or yarn – Elastic strings are ideal for bracelets and anklets as they’re easy to put on and take off.
- Recyclable items – Encourage eco-friendliness by incorporating items like old buttons, fabric scraps, or paper beads.
- Clasps and closures (optional) – For a more polished finish, add clasps to your creations.
Simple Techniques to Get Started
- Threading Beads – Show your child how to thread beads onto a string. Start with simple patterns like alternating colors or sizes.
- Knotting Between Beads – Teach older children how to tie knots between beads for a more professional look.
- Making Paper Beads – Roll strips of colorful paper into beads and glue them. This is a great way to recycle and create something beautiful.
- Braiding and Twisting – Combine different strings or yarns by braiding or twisting them together for a textured look.
Tips for Successful Jewelry Making with Kids:
- Pre-Cut Strings – Cut strings to the appropriate length beforehand to avoid frustration.
- Supervise the Use of Tools – Always supervise when using tools like scissors or clasps.
- Create a Comfortable Workspace – Ensure the work area is well-lit and comfortable.
- Encourage Experimentation – Let children mix and match materials and designs. There’s no wrong way to be creative!
- Safety First – For younger children, avoid small beads that can be a choking hazard and use non-toxic materials.
Jewelry Making as a Learning Experience
- Color Recognition and Patterns – Creating jewelry can help younger children with color recognition and learning patterns.
- Fine Motor Skills – Handling small beads and tying knots can improve fine motor skills.
- Sense of Accomplishment – Completing a piece of jewelry gives children a sense of pride and accomplishment.
Creating jewelry isn’t just about making something pretty; it’s about the joy of creating, learning new skills, and spending quality time together. So, gather your beads, string, and imagination, and let the magic of handmade jewelry begin!
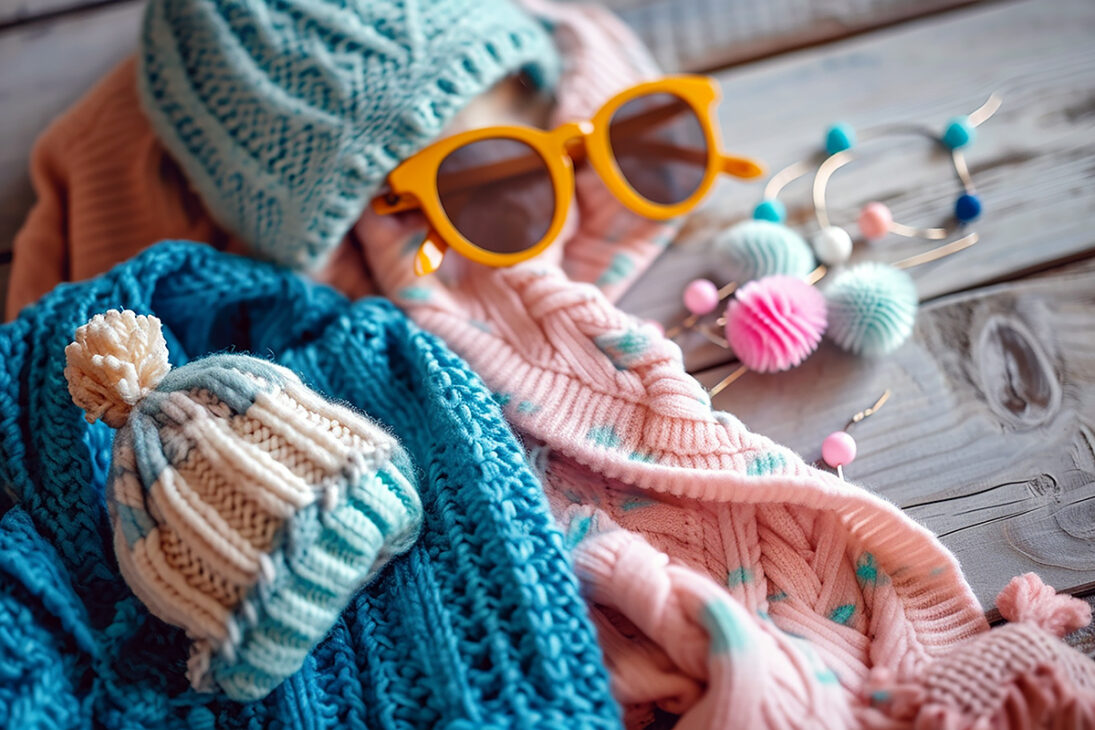
Designing Scarves – A Splash of Color
Scarves are not just a winter necessity; they are a canvas for creativity, offering endless possibilities to add flair to any outfit. Engaging children in designing their own scarves can be a fun and educational experience. Whether it’s transforming a plain scarf with vibrant colors or learning the basics of knitting, there’s a scarf project for every age.
Choosing the Right Scarf
Start by selecting the right scarf:
- Fabric Choices – For dyeing or drawing, opt for cotton or silk scarves as they hold color well. For knitting, choose soft, skin-friendly yarn.
- Size Matters – Depending on the project, choose the appropriate size. Smaller scarves are great for beginners.
Techniques to Explore
- Tie-Dye Magic – Tie-dyeing is a fantastic way for kids to experiment with color. Teach them to twist and tie their scarves, then apply dyes to create stunning patterns.
- Fabric Markers for Detailed Artwork – Fabric markers are perfect for drawing or writing directly on scarves. They can create detailed designs or simple doodles.
- Introduction to Knitting – For older kids, knitting a scarf can be a rewarding project. Start with basic stitches and gradually introduce more complex patterns.
Tips for a Successful Scarf Designing Activity:
- Prepare Your Workspace – Cover surfaces to protect against spills and stains, especially when using dyes or paints.
- Safety First – Use non-toxic dyes and markers, especially for younger children.
- Guide and Assist – Provide guidance but let the children lead their projects. Assist only when necessary.
- Experiment with Techniques – Encourage kids to try different folding techniques in tie-dye or various colors with markers.
- Patience is Key – Remind them that knitting takes time and practice.
Benefits of Scarf Designing
- Boosts Creativity – Choosing colors, patterns, and techniques nurtures creativity.
- Develops Fine Motor Skills – Handling brushes, markers, and knitting needles enhances fine motor skills.
- Teaches Textile Basics – Children learn about different fabrics and how they interact with colors and techniques.
- Sense of Achievement – Wearing or gifting a self-made scarf brings immense pride and a sense of achievement.
From a cozy winter accessory to a stylish summer add-on, designing scarves is more than just a craft; it’s a blend of art, skill, and self-expression. So grab your materials, and let’s add a splash of color to the world of scarves!
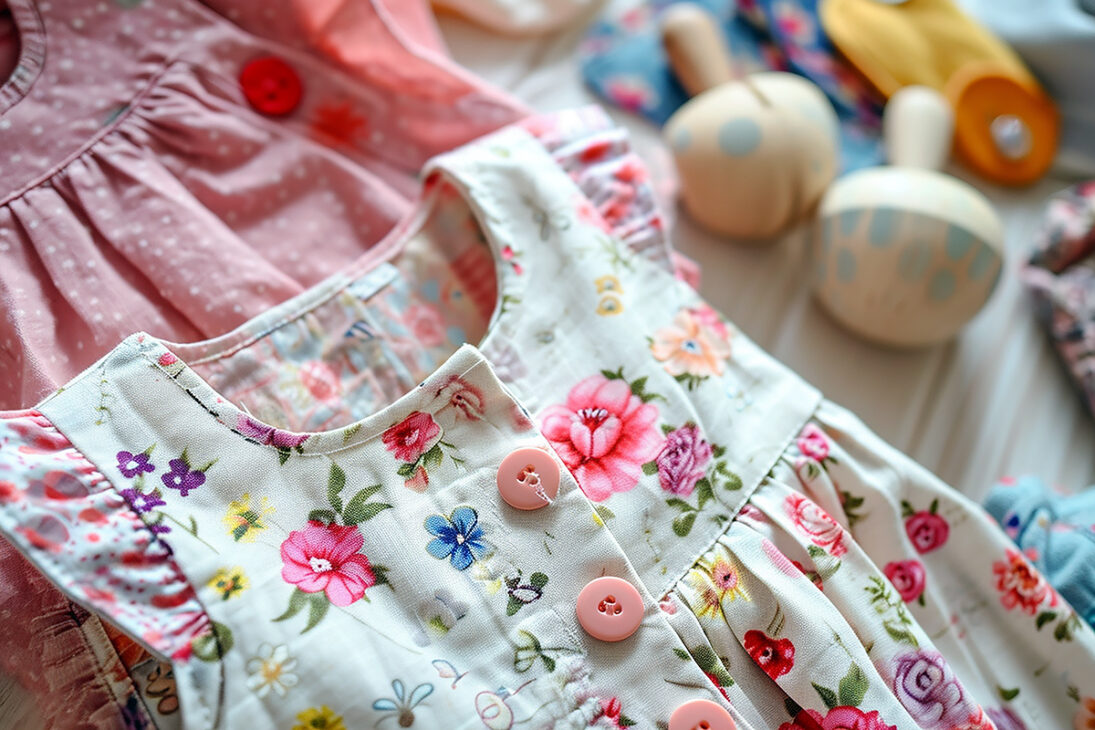
Personalized Bags – More Than Just Carrying Stuff
Bags are a staple in every child’s wardrobe, not just for their utility but also as an expression of style. Personalizing a bag can transform it from a mundane item into a treasured possession. This section is dedicated to showing parents and children alike how they can make a regular bag truly their own.
Selecting the Right Bag
- Type of Bag – Choose between tote bags, backpacks, or small purses depending on the child’s age and needs.
- Material Matters – Opt for bags made from canvas or cotton as they are easier to decorate.
Customization Techniques
- Patches Galore – Iron-on patches are an easy way to add personality to any bag. Let children pick their favorite designs.
- Fabric Paint Fun – With fabric paints, kids can draw or stencil designs onto their bags. It’s perfect for unleashing their artistic side.
- Simple Stitching – Introduce basic sewing by adding buttons or stitching designs with colorful threads.
Tips for a Successful Bag Customization:
- Plan Your Design – Sketch the design on paper first. It helps to visualize the final look.
- Test Materials – If using fabric paints or markers, test them on a small area to see how they adhere to the fabric.
- Ironing Patches – Supervise children when ironing patches onto bags to avoid burns.
- Embrace Imperfections – Handmade items are unique. Celebrate the imperfections that make each bag special.
Why Customize Your Bag?
- Fosters Creativity – Choosing colors, patterns, and materials allows children to express their creativity.
- Develops Practical Skills – Sewing on a button or patch teaches basic hand-eye coordination and practical life skills.
- Encourages Individuality – A customized bag is a statement of individuality and personal style.
- Environmentally Friendly – Upcycling a plain bag is a sustainable way to create something new and beautiful.
Customizing bags is a rewarding activity that blends practicality with creativity. It’s not just about ‘carrying stuff’; it’s about carrying a piece of your child’s personality wherever they go. So, grab those patches, paints, and needles, and let’s turn those ordinary bags into masterpieces of personal expression!
Upcycled Treasures – Turning Old into Gold
Upcycling is the art of transforming old or unused items into something new and beautiful. This section is a treasure trove of ideas for turning everyday items that might otherwise be discarded into stylish accessories. Not only is this a budget-friendly approach, but it also instills values of sustainability and creativity in children.
Finding Materials to Upcycle
- Old T-Shirts – Perfect for creating headbands, belts, or even patches.
- Outgrown Socks – Great for crafting wristbands, small pouches, or plush toy accessories.
- Worn Jeans – Ideal for making trendy denim bracelets or bag charms.
Easy Upcycling Projects
- T-Shirt Headbands – Cut strips from an old t-shirt and braid them to create colorful headbands.
- Sock Wristbands – Use the elastic part of socks to create funky wristbands. Add beads or buttons for extra flair.
- Denim Bag Charms – Cut shapes from old jeans, decorate with fabric paint, and attach them to bags as unique charms.
Tips for Successful Upcycling:
- Choose Soft Fabrics – Soft materials like cotton are easier for children to work with.
- Safety First – Supervise cutting and sewing to ensure safety, especially with younger children.
- Embellish Creatively – Encourage kids to add their personal touch with embroidery, beads, or fabric markers.
- Mix and Match – Combine different materials and textures for an eclectic look.
Benefits of Upcycling for Kids:
- Encourages Imagination – Upcycling prompts kids to see potential in everyday items.
- Teaches Resourcefulness – Children learn to make the most of what they have.
- Eco-Friendly Activity – It’s a great way to teach kids about reducing waste and caring for the environment.
- Unique Creations – Each upcycled piece is one-of-a-kind, just like its creator.
Upcycling offers a world of creativity and resourcefulness. It’s a chance for kids to see the value in things often overlooked and learn that with a little imagination, old things can be transformed into new treasures. So, let’s dive into those closets and drawers and turn the old into gold!
Safety and Simplicity – Keeping DIY Fun and Secure
Crafting with children is not just about creativity; it’s also about ensuring their safety while they explore and learn. This section focuses on how to create a secure environment for your little DIY enthusiasts, ensuring their crafting journey is both enjoyable and safe.
Crafting Safely with Kids
- Non-Toxic Materials – Always opt for non-toxic, child-safe materials, especially paints, glues, and markers.
- Supervised Crafting – Younger children should always be supervised, especially when using scissors or needles.
- Age-Appropriate Tools – Choose tools and materials that are age-appropriate to prevent any accidents.
Setting Up a Safe Crafting Space
- Well-Lit Area – Ensure the crafting area is well-lit to avoid eye strain and accidents.
- Spill-Proof Surfaces – Cover tables with newspapers or plastic sheets for easy cleanup and to protect surfaces from spills.
- Organized Space – Keep the workspace tidy and organized, with sharp or dangerous tools out of reach.
Tips for Safe Crafting
- Safety Scissors – Use child-friendly safety scissors for younger kids.
- Washable Materials – Choose washable fabrics and paints to avoid permanent stains on clothes.
- Easy-to-Handle Sizes – Cut materials into smaller, manageable sizes for little hands.
- Avoid Small Parts – Be cautious with small beads or buttons that can be choking hazards for very young children.
Crafting Responsibly
- Recycle and Reuse – Encourage children to use recyclable materials, fostering eco-friendly habits.
- Clean as You Go – Teach children to clean up after crafting to instill a sense of responsibility.
- Healthy Crafting Habits – Include regular breaks and ensure a comfortable crafting posture to avoid fatigue.
Age-Appropriate Project Ideas
- Toddlers (Ages 2-3) – Simple coloring activities, finger painting, or clay modeling.
- Pre-Schoolers (Ages 4-5) – Basic sewing, simple beadwork, or making paper crafts.
- Older Kids (Ages 6+) – More complex projects like knitting, detailed painting, or building models.
Creating a safe and enjoyable crafting environment is crucial for a child’s development in the arts. By taking the necessary precautions and choosing the right projects, you can ensure that your child’s crafting experience is as safe as it is fun. Let’s make sure their journey into the world of DIY is a secure and delightful one!
Embarking on these DIY accessory adventures is much more than just a journey of creating stylish pieces; it’s a heartwarming experience of bonding and celebrating the unique spark of creativity in every child. As you put away the crafting tools and admire your handiwork, remember the laughter, the shared ideas, and the little hands that made it all happen. So, gather your materials, unleash your creativity, and let the wonderful world of DIY craft a tapestry of memorable moments and delightful creations!


